The importance of a good monitor. (Or why don’t my printed pictures match what’s on my monitor!)

Hello there!  Thanks for joining me.

It occurred to me that I haven’t really mentioned the importance of having a good computer monitor in this process.  Well actually, I think I may have mentioned it briefly in one of the first posts, but it’s super important, so today the topic gets it’s own post!

If you search in Google for why your printed pictures don’t match what you see on the screen the first million responses will say to calibrate your monitor and adjust your brightness setting.  (Seriously, go search for it!)

When most people use a computer the brightness is set very high, for editing it should be pretty low.  A monitor is a light source and what you see is different depending on how bright that light is.  The concept is pretty simple, but adjusting it can be a bit more complicated.  My brightness is normally kept between 20-25%.  This works for me.  Since you have a different model than mine you’ll have to play around and see what works for you.  This is the easy part of this equation. Continue reading
Very basic Photoshop editing.

Welcome!  So you have a picture or scan of your artwork!  But now what in the world do you do with it?!

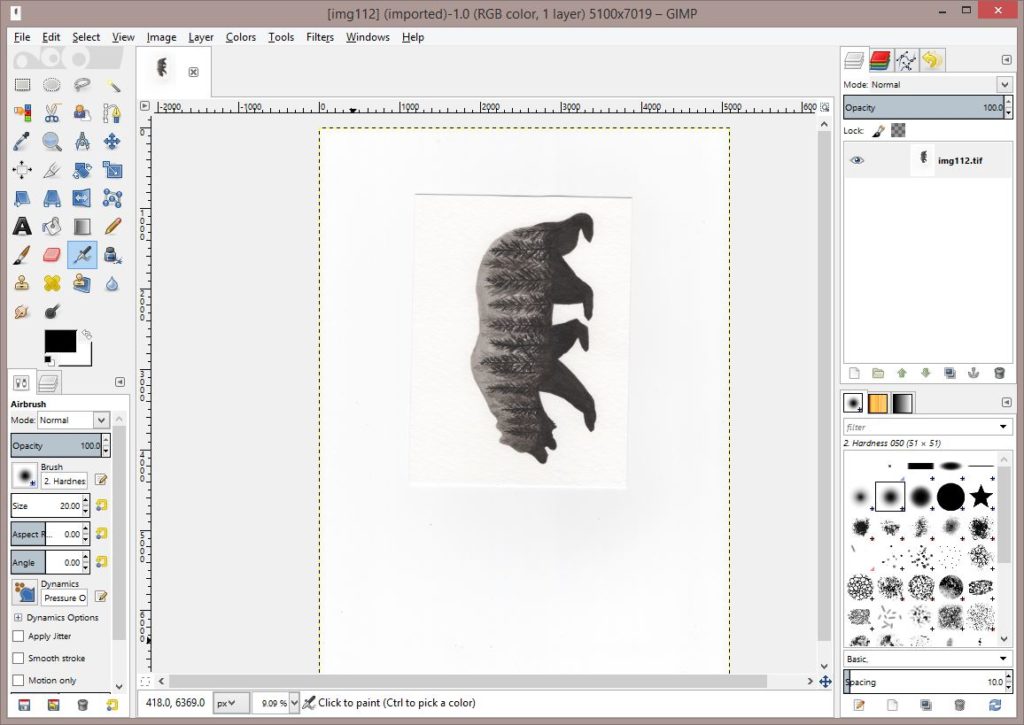
Today’s post is a very, very basic Photoshop editing lesson.

I’ve heard people say that they can’t figure out Photoshop (you could say any editing program in there as well), and use that as an excuse to not take the steps they want to start selling.  While Photoshop can do amazing and incredible things, you only really need a few of those features at this point.  Even if you’re not trying to sell, but want to post better pictures of your artwork to social media, a quick edit can drastically improve things.

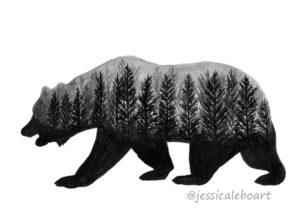
For this example, I’m going to be editing this ink bear that I painted, a fun little project experimenting with double exposure.

double exposure ink drawing bear forest Continue reading

Cameras, Scanners, Gimp and Photoshop

Welcome!

This post is going to cover a basic setup for your camera, basic scanning, and then a couple of editing programs.

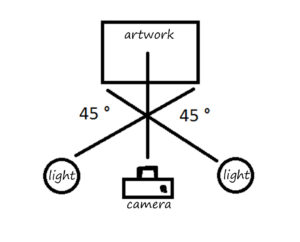
Below is an idea of what your set up should look like for a camera.

Your artwork should be straight up and down.  The camera should be perpendicular to your artwork, aiming right at the center of the piece. If you are using lights they should be on each side, in line with the camera. In my research there are a lot of theories on which lights you should use with the only consensus being that they should be daylight bulbs. Some people say use four lights, some say two, some have them pointed at the opposite side of the artwork from where they are originating, some just straight on. This really is something you’ll have to play around with and test what works best for you. (I absolutely detest that advice by the way!) If there was a method that was foolproof for everyone there wouldn’t be so many varying methods out there. I found that using a few lights while the sun was bright in the room was the most helpful.

Continue reading

Getting your artwork to the computer. A lesson in megapixels.

Thanks for joining me! Today’s post is a lesson in megapixels, and a comparison of my work captured through a camera and a scanner.  We’ll also cross an item off of last week’s checklist!

I’m going to dive right in!

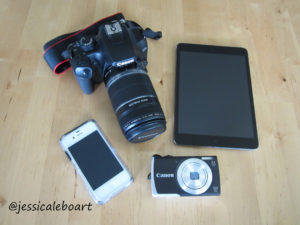
As I said previously, these are the camera options I had to start with:


I dismissed the phone, iPad, and point and shoot camera because of obvious quality issues with the first two, and because all of my research said not to use a point and shoot. The thing that I didn’t research enough was what my DSLR was actually capable of. In case the term is new to you, DSLR is an abbreviation for digital single-lens reflex camera. My way oversimplified explanation of the difference between this type of camera and a point and shoot is the option for interchangeable lenses, the ability to have complete control over the settings, and an image stabilization feature.

Remember when I said I don’t replace things just because they are old. They have to break, or die, or have holes, or rot? Continue reading

How I first started, and an overview of the process.

Hello there!

Today’s post is a long one. First, I want to talk about why I’m writing this blog and then, I’ll share an overview about my process when I first started, and leave you with a checklist to get started yourself!

When I first started drawing, I had no thought of ever selling my work. In the last couple of years I started to get those “what if” thoughts. Towards the end of 2016 I decided to finally take it seriously and really research how to go about making prints and selling. I had no idea what was involved. I didn’t know anything. I’m not a super computer savvy person. But I figured it out, and so can you!
Continue reading